“Can you just
make this print?”
Low-resolution art. Empty margins. Soft transparency. Handle the everyday fixes where you prepare the order.
Meet your new prep workflowDTF RIP software · Windows & Mac
Less time fixing files. Better use of film. Prepare, nest and print in one workspace—with Direct Print to supported Hoson setups.
Free during public testing. Start with one real order.
A smoother day, from artwork to output.
Sound like your print queue?
Low-resolution art. Empty margins. Soft transparency. Handle the everyday fixes where you prepare the order.
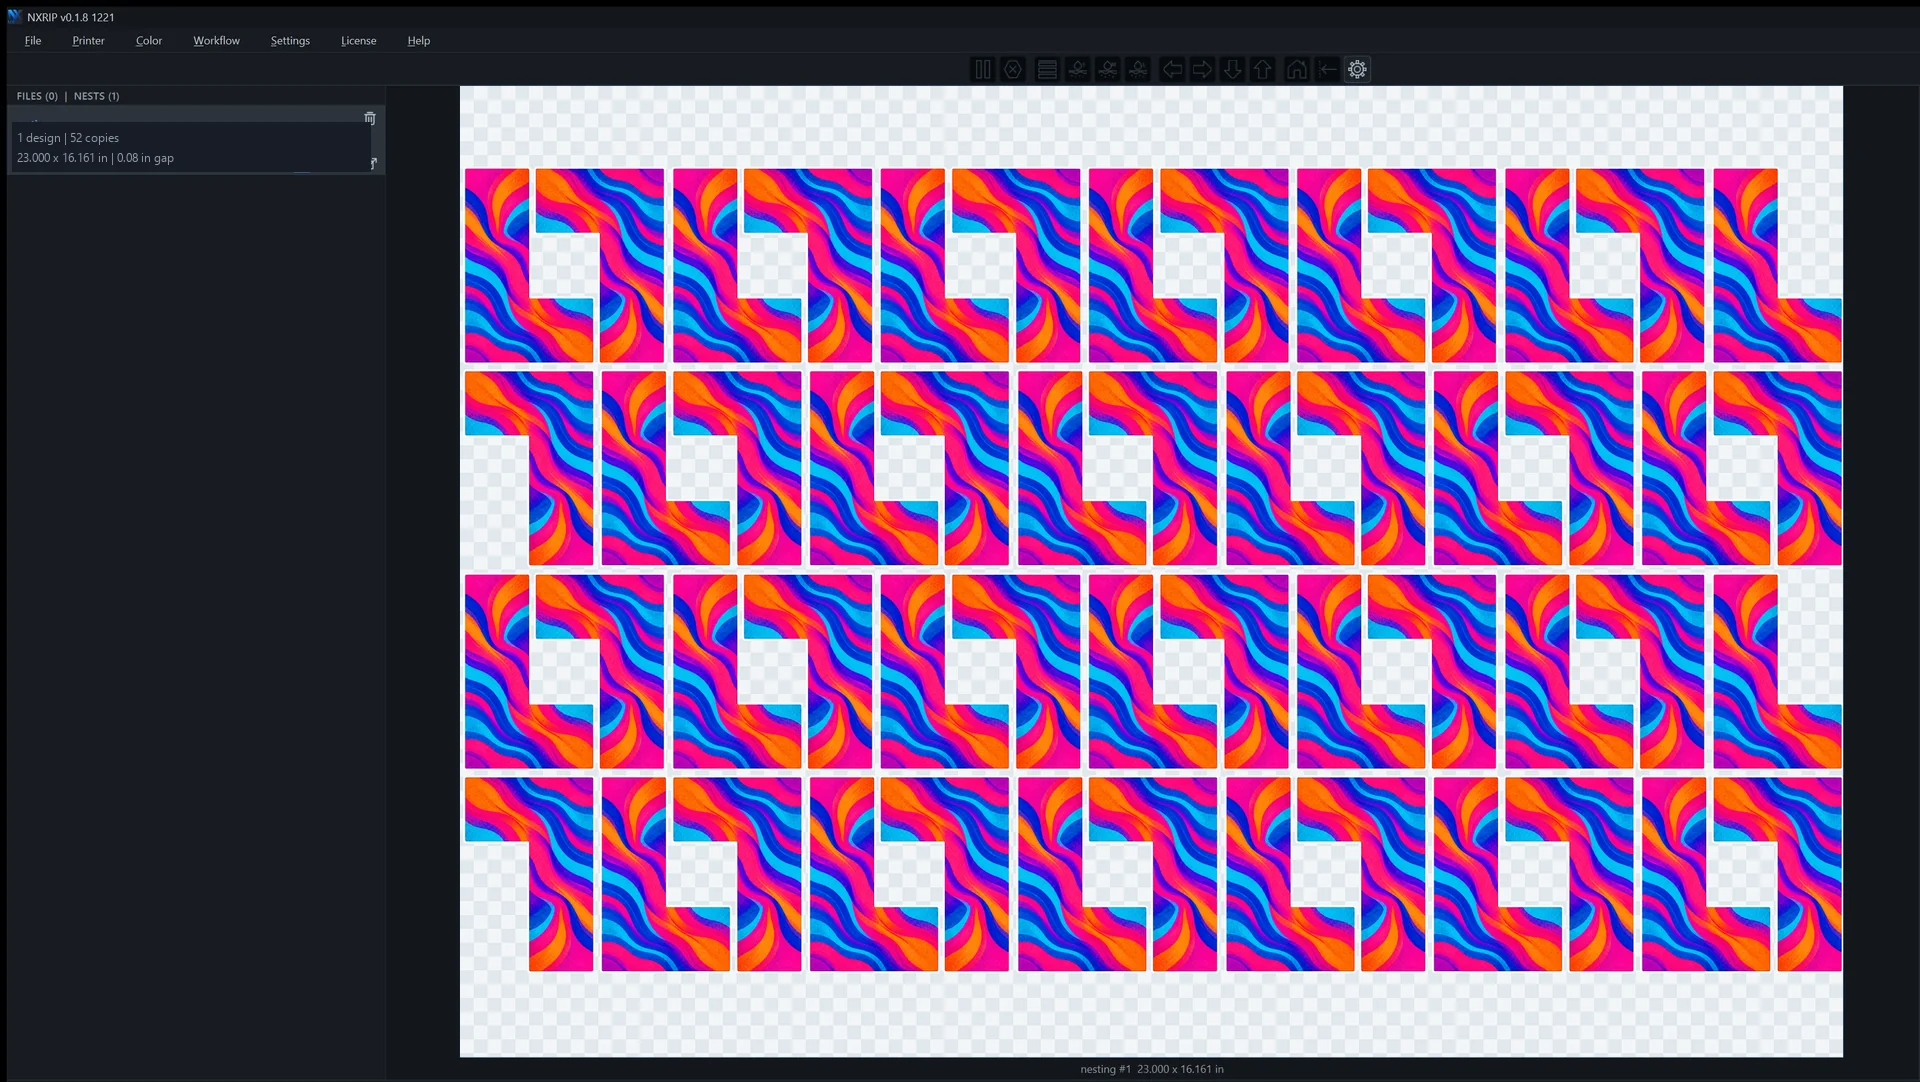
Meet your new prep workflowTransparent boxes can keep artwork apart. Shape-based nesting fits around the design that actually prints.
Look at a real layoutKeep resolution warnings, placement and the white layer in view while there is still time to make a change.
Follow an order throughDirect Print / A shorter route to the printer
Prepare, RIP and send from NXRIP straight to a supported Hoson printer. Keep the job, the print controls and the decisions in one place.
Keep jobs moving
Send the prepared job from NXRIP without exporting and reopening it in PrintExp. Spend your attention on the order in front of you.
Take on uneven fills
NXRIP plans the passes and their overlap. Tune Strong A or MixFog feathering to work on the uniformity of large solid areas.
Set the pace
Set print speed and direction inside NXRIP. Test the combination that gives your job the speed and finish you need.
Start with a solid-fill design you know. Compare the finish at your intended production settings.
Check Direct Print compatibility01 / Make the film work harder
Put more artwork on the film you already pay for. NXRIP can nest around visible contours, bringing compatible shapes closer together.
This example: one L-shaped design, a 23 × 16.161 in sheet and a 0.08 in gap. Your result depends on the artwork and settings.
Inspect the full-size layout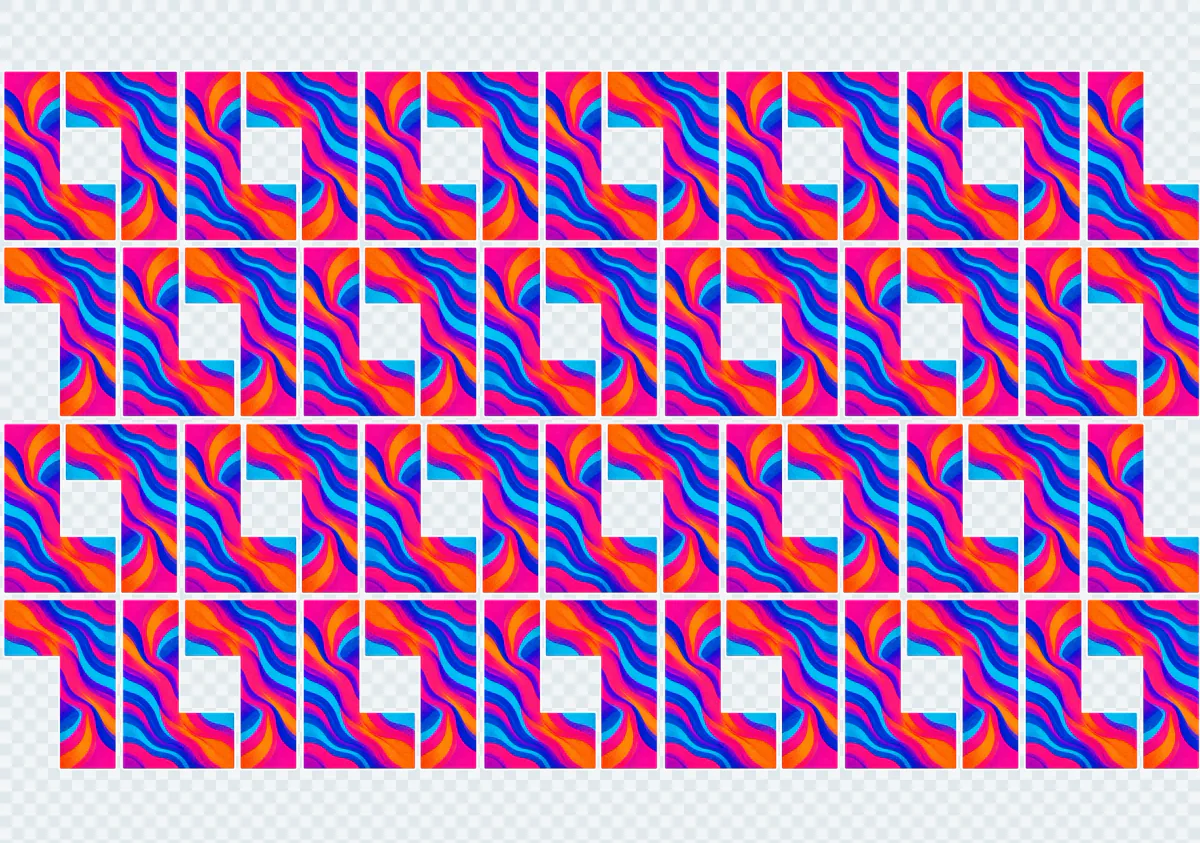
02 / Get difficult artwork moving
Bring the common fixes into your DTF workflow. See the change, then decide what is ready.
Local AI upscale
Improve weak raster artwork with NXRIP’s bundled local 4× upscaler, without a trip to a separate upscaling service.
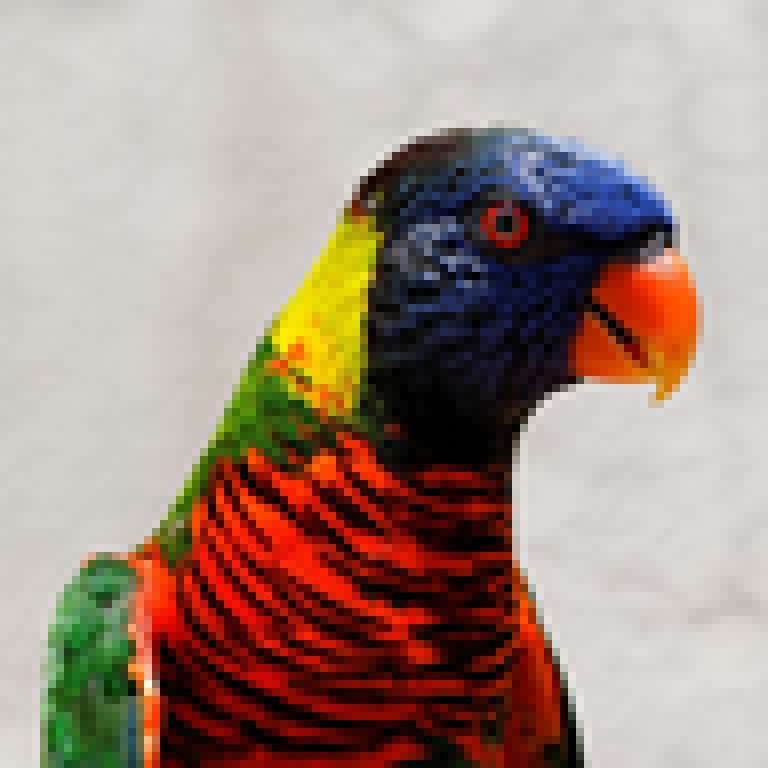 Source · 96 × 96 px
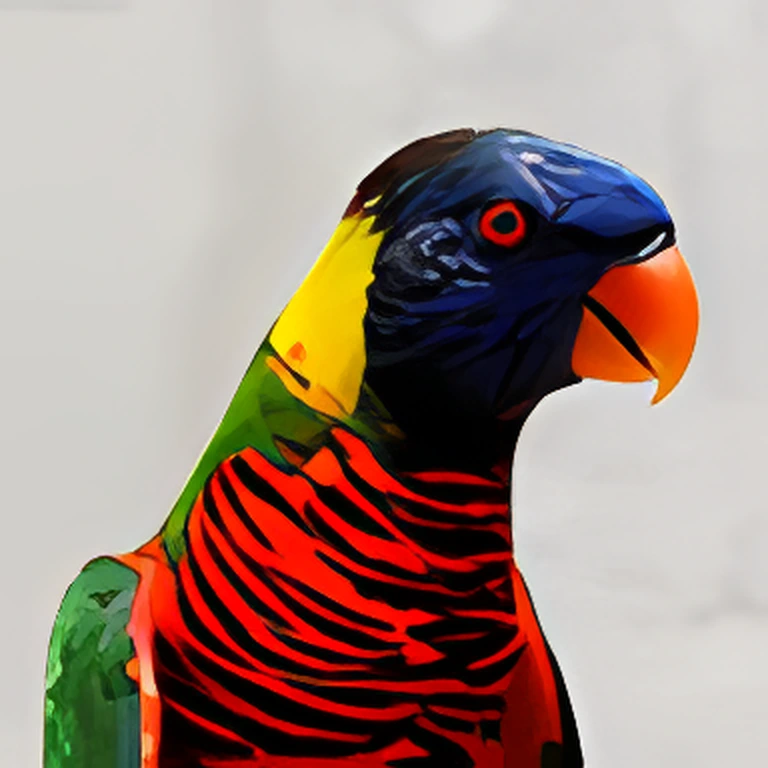 NXRIP AI · 4×
Transparency halftone
Turn translucent artwork into a controlled dot pattern. Keep the feel of the design while preparing its transparency for print.
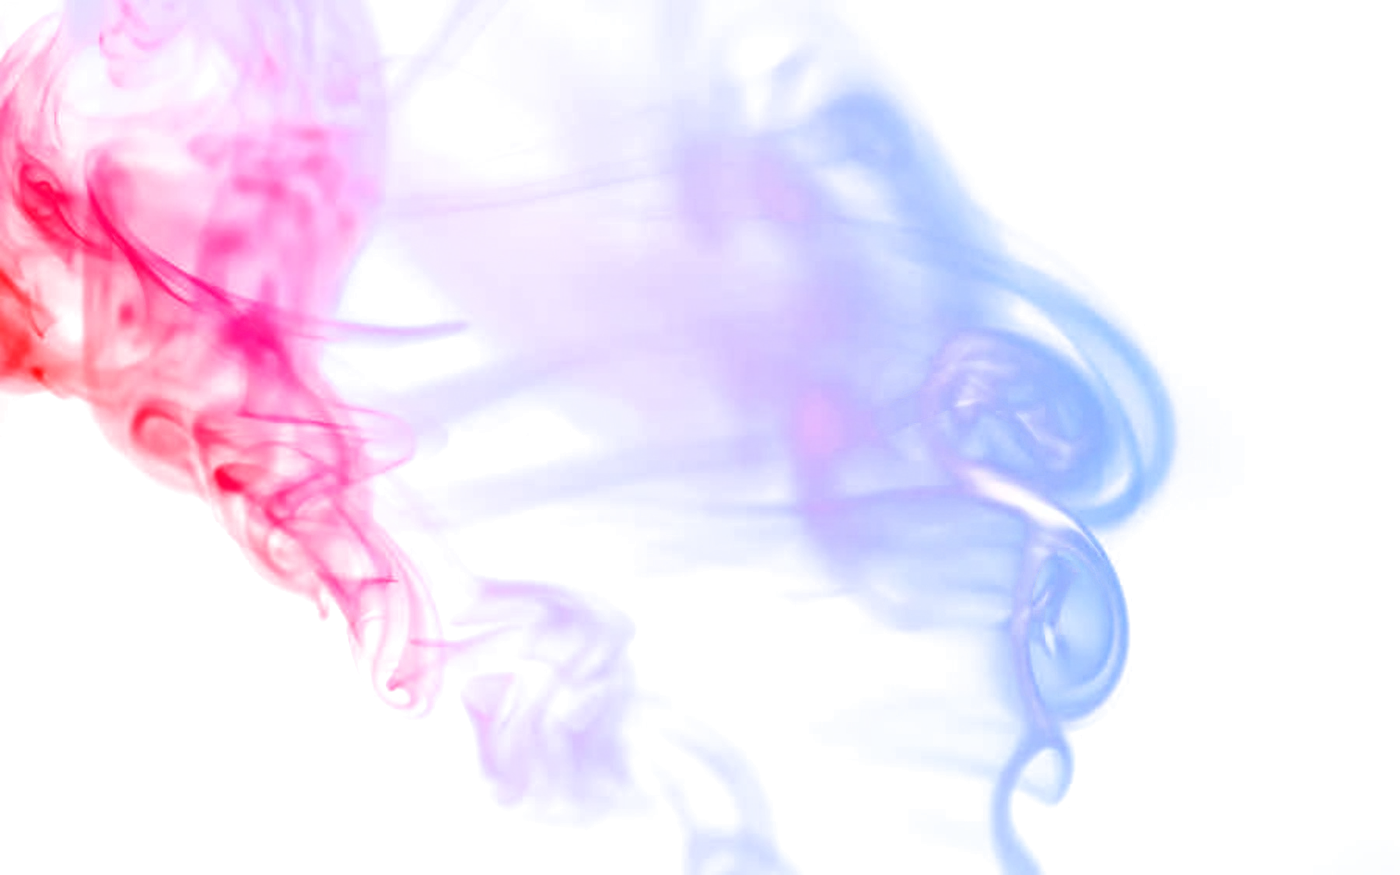 Continuous alpha
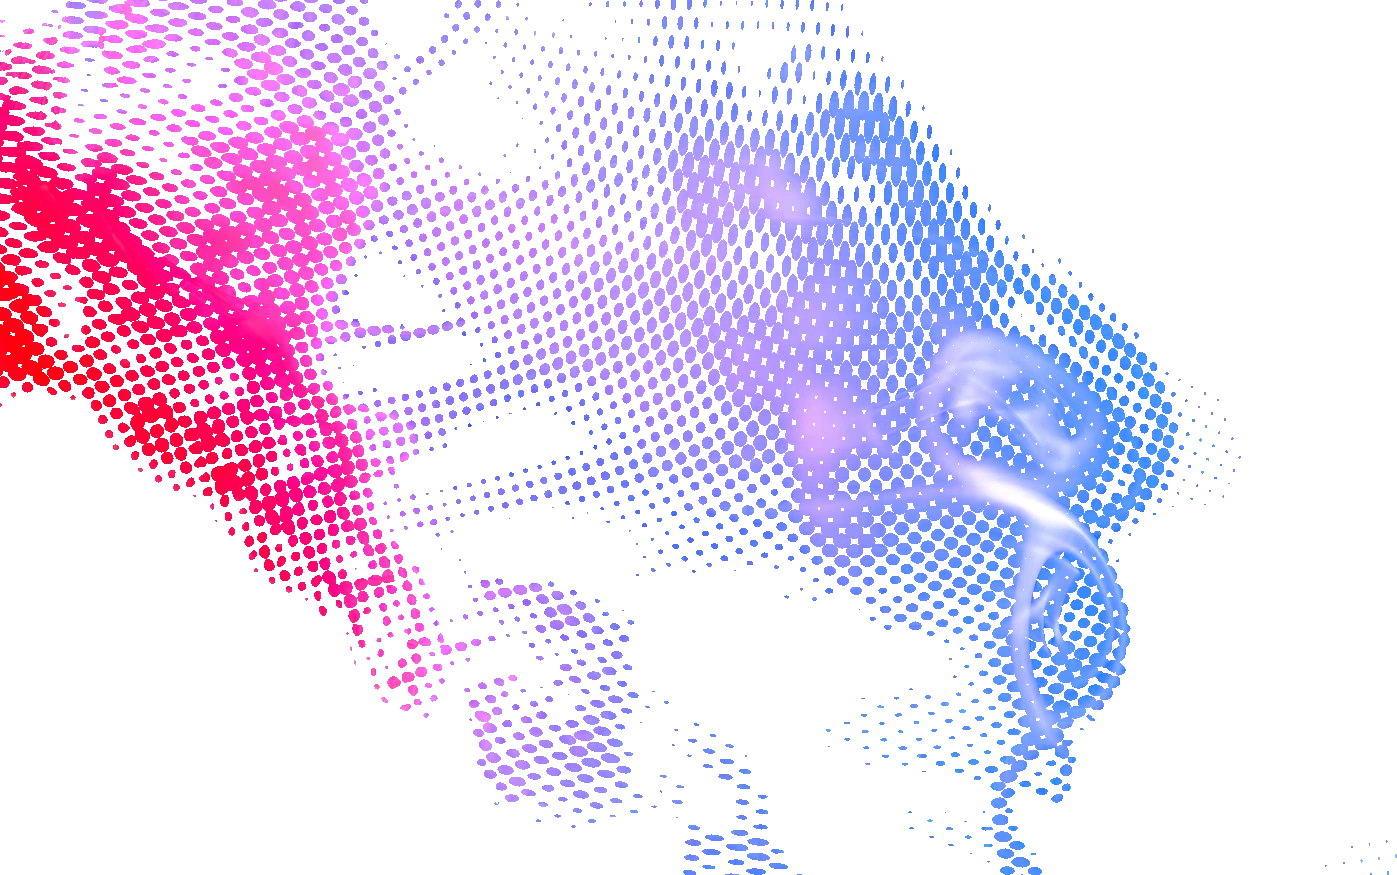 NXRIP halftone
More of the everyday prep
Remove flat backgrounds or knock out a selected color before building the sheet. Optional local AI background removal is also available on Windows with the AI pack.
Explore background cleanupThese are actual NXRIP processing examples. See sources and demo conditions
03 / Keep the order together
Open images, folders, ZIPs and multi-page PDFs. Read copy counts from filenames that include them.
Crop empty margins, check resolution and prepare difficult artwork in the same workspace.
Choose rectangular or shape-based nesting. Check spacing, quantities and the white layer.
Review warnings and the result before output through your supported printer workflow.
Repeat orders? An optional watched-folder workflow can help automate intake and preparation.
Explore preparationMake the decision on your own work
Start with a job you know well. The awkward artwork. The repeated logos. The layout you always rebuild. See where NXRIP makes a difference for you.
Your first-order guideMatch your computer and printer configuration to the coverage below.
Install, create a tester license and prepare a copy of your artwork.
Inspect the sheet, then make a small test print on your own equipment before moving a production queue.
A good fit starts here
Available for Windows and Apple Silicon Macs, with output for the printer families below.
| System | Coverage |
|---|---|
| Windows | x64 desktop installer |
| macOS | Apple Silicon · arm64 |
| Hoson | i3200 · i1600 · XP600 |
| BYHX | i3200 |
| Senyang | XP600 |
| WellPrint / Lancelot M1630 | XP600 |
Yes. NXRIP is free during public testing, with a temporary tester license. The license is tied to the testing program. For questions about future availability or commercial licensing, contact us.
Download the build for your computer. Then open the License menu in the app and create a tester license. Request a key with your name and email and follow the activation instructions. The first-order guide takes you through the next steps.
Start by evaluating one familiar order. Check preparation, layout and a small test print before deciding whether NXRIP fits your production. Keep your original artwork and current working setup available during evaluation.
Do not assume that another RIP’s settings will transfer unchanged. Test your NXRIP color configuration with your printer, ink and materials. The community starter configurations below are useful starting points for their named setups.
Use the practical guides, ask in the public forum, or email info@nxrip.com. For printer questions, include the controller, printhead, firmware and output mode.
Your next order is a good place to start
Try NXRIP with the files that slow you down.
Free during public testing.
Community starting points for i3200 · 6-pass. Choose your ink below, then test with your printer and materials.
After installing, open the License menu in the app and create a tester license. You will need your name and email to request a key. Follow the first-order guide.